The Process of Applying Ceramic Coating: What to Expect from Start to Finish
Applying ceramic coating to your car might seem daunting, but it's actually a straightforward process when done correctly. This liquid polymer protects your vehicle's paint from environmental hazards, helping maintain its shine and value for years.
But getting that perfect coat isn't just about slapping on the product—preparation is key. From meticulously washing your car to eliminating iron particles, each step ensures your vehicle's surface is ready for the durable protection ceramic coatings offer.
The process of applying ceramic coating from start to finish includes thorough vehicle preparation such as hand washing, decontaminating, polishing, and ensuring the surface is clean before application. After preparing the vehicle, you will carefully apply the ceramic coating in sections, allowing it to cure properly for optimal protection against environmental damage.
Preparing Your Vehicle
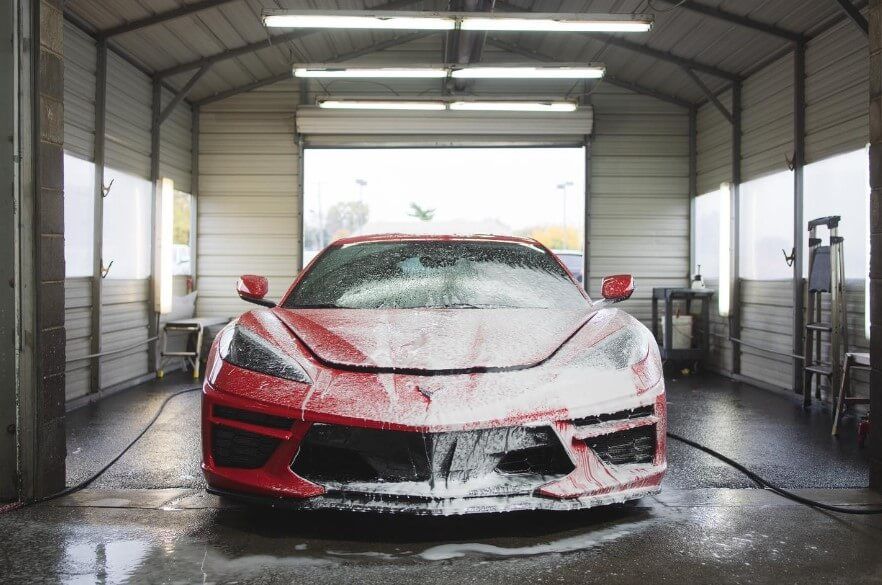
The right preparation creates a clean canvas on which your ceramic coating can thrive. Begin with step I—hand washing your vehicle. Using a pH-balanced shampoo specifically designed for cars is key because regular dish soaps can strip away wax and sealants, potentially compromising the bonding capabilities of the ceramic coating.
Carefully wash the surface to remove grime, dirt, and old residues, but avoid those automated car washes. These often leave behind unsightly swirls due to their harsh brushes. Remember to rinse thoroughly; any soap left behind could interfere with subsequent treatments.
After giving your car a proper bath, it’s time to tackle the hidden contaminants lurking in the paint.
Step II - Iron Remover Application
While your vehicle is still wet from the wash, apply an iron remover. This magical concoction reacts with invisible iron particles that can adhere to your paint while driving. When sprayed on, the product will turn purple or red as it encapsulates these contaminants. Allow it to sit for about five minutes; this dwell time is crucial—like letting marinated chicken sit to absorb flavors!
Afterward, you’ll be able to rinse away these troublesome particles effortlessly, leaving your surface cleaner than before.
With those pesky iron deposits dispatched, we move on to an often-overlooked tool in preparation—the clay bar.
Step III - Clay Bar Treatment
Employing a clay bar while the vehicle remains wet serves multiple purposes—it not only removes embedded contaminants but also ensures your paint is as smooth as possible. Think of the clay bar like an artist's brush smoothing out imperfections on canvas. Use light pressure and glide it gently across the paint surface; if you feel any rough patches, those are signs that contaminants remain.
Make sure to keep the clay lubricated with a detail spray or soapy water during this process—this prevents marring and achieves optimal results. A perfectly smooth surface ensures improved bonding when applying the ceramic coating.
Now that we’ve achieved a pristine surface free of contaminants, we need to ensure all moisture is eliminated before moving forward.
Step IV - Complete Drying
To complete this preparation phase, dry your vehicle thoroughly using microfiber towels or a blow dryer. Microfiber is essential due to its softness and absorbent qualities; unlike regular cotton towels, they minimize swirl marks while soaking up excess water effectively.
Be meticulous; any leftover moisture could hinder adhesion when you apply the ceramic coating, leading to less-than-desirable results down the road.
Having readied your vehicle meticulously for the application process opens up avenues for ensuring longevity and protection through cleaning processes and polishing techniques advanced in our next discussion.
Cleaning and Polishing
After thoroughly preparing your vehicle, the next focus is on cleaning and polishing to achieve that flawless canvas. You want to make sure that every inch of your vehicle's exterior is not only clean but also smooth and free from any blemishes that could compromise the bonding of the ceramic coating. It’s akin to a painter prepping a canvas—every detail matters.
Step V - Machine Polish
To begin the polishing process, it's crucial to employ a dual-action buffer paired with a gentle yet effective polishing compound. This combination will help level out minor imperfections like swirl marks, which would otherwise be visible beneath the ceramic coating.
When using the buffer, make sure to work in small sections, applying even pressure while making overlapping passes across the surface. Having high-quality microfiber pads helps achieve an even polish and reduces the risk of adding further imperfections during this stage.
The key here is patience. Rushing through this step can lead to uneven results or missed spots, so take your time ensuring you achieve a consistently polished surface.
Once you've meticulously polished all sections of your vehicle, it’s important to remove any remaining residue before moving on to the final cleaning step.
Step VI - Residue Removal
After completing the polishing phase, it’s imperative to eliminate any leftover oils or residues that have accumulated on the surface. For this, grab a new microfiber cloth and some isopropyl alcohol (IPA). Dampen the cloth slightly with IPA and gently wipe down each section of the vehicle. This ensures that no remnants from polishing compounds linger, which could interfere with how well the ceramic coating adheres to the paint.
While cleaning, pay particular attention to any crevices or contours in the bodywork where residues may hide; these areas can often be overlooked but are equally important for achieving a seamless finished look.
A clean surface is crucial—it serves as the foundation upon which your ceramic coating will bond, providing the longevity and durability you seek.
With a perfectly cleaned and polished vehicle now prepped for protection, we advance into the crucial next phase where you'll apply the ceramic coating itself, fortifying your investment against environmental elements.
The Application Process
Applying ceramic coating requires precision for the best results, transforming your vehicle's exterior into a shield against environmental damage.
To begin, inspect your vehicle carefully to ensure it's completely free from contaminants like dust and oils. Note that even a speck of dirt can disrupt the coating process and lead to uneven surfaces. Using a bright light will help you spot any lingering debris that needs attention.
Step VII - Application of Ceramic Coating
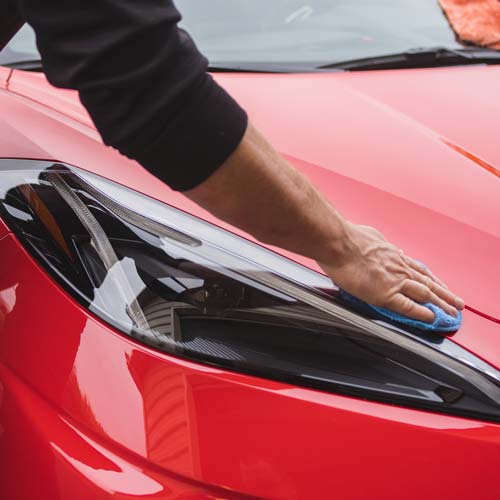
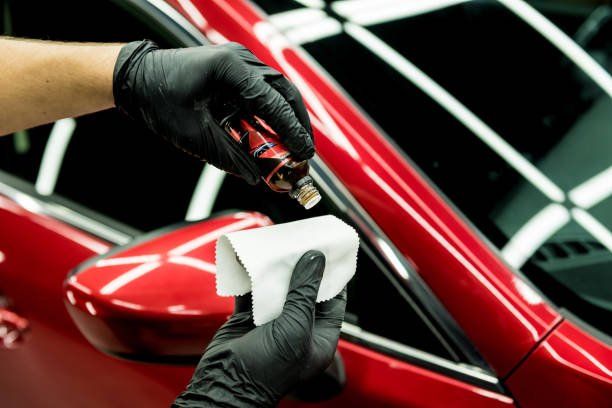
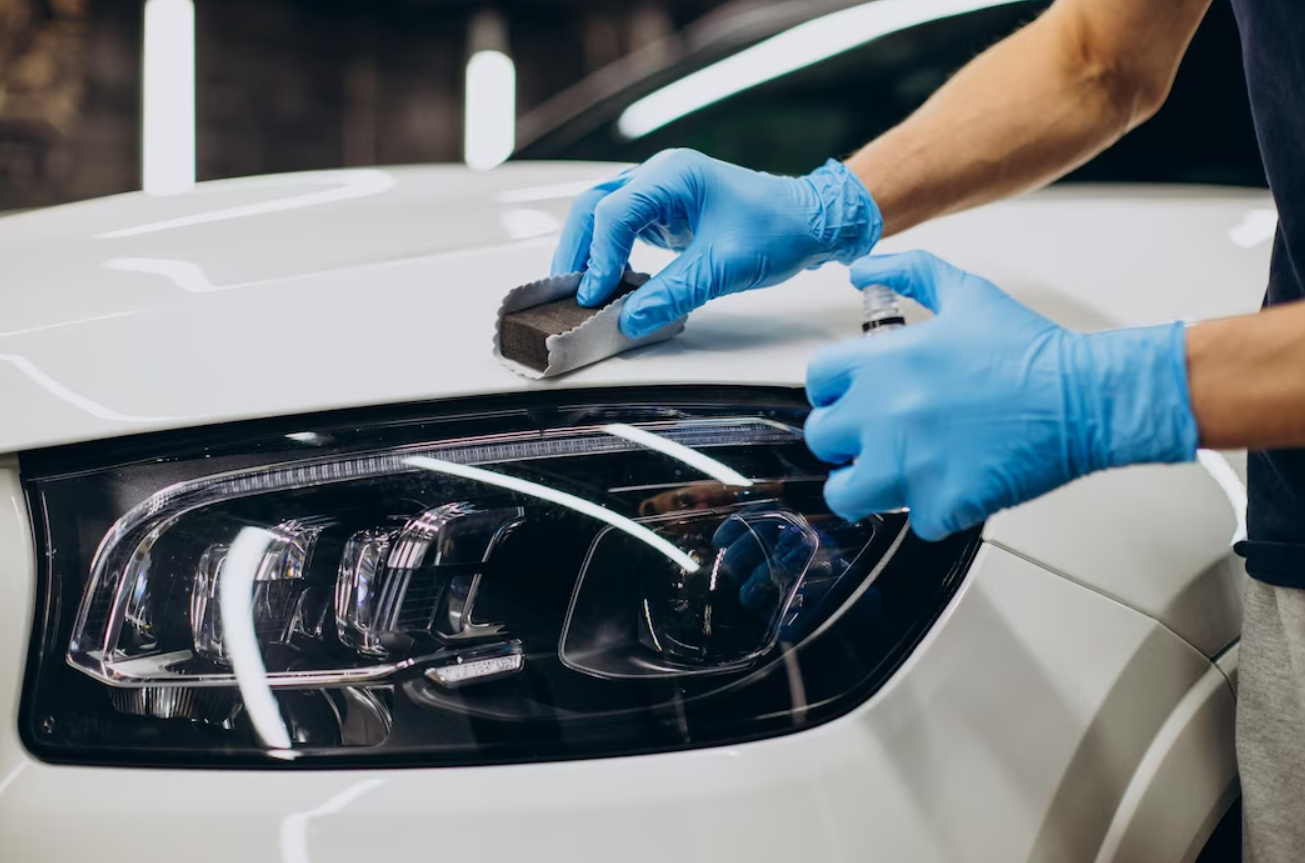
Once you're confident in the cleanliness of your surface, it's time to prime your applicator pad. Eight drops of ceramic coating are typically sufficient for an area measuring about 3x3 feet. It’s crucial not to overload the applicator, as too much product can result in runs or drips.
As you begin working the coating into the surface, move in straight lines or an ‘X’ pattern; this ensures even distribution and better penetration into the paint.
Maintain a consistent pace to prevent sections from drying before you can buff them out. If your vehicle has complex curves or hard-to-reach areas, take extra care to ensure every part receives adequate coverage without rushing.
Step VIII - “Sweating” and Removal
After a few minutes, you'll notice the coating beginning to sweat, indicating it's reached the appropriate point for removal. This phase is critical; if left too long, the coating can become difficult to buff away effectively.
Use a clean microfiber towel to gently wipe away the excess product, but do so with minimal pressure—excessive force could lead to undesired swirl marks on your newly coated surface.
This section-by-section approach ensures that you give each area ample attention while keeping track of where you've already applied the coating. Continue this meticulous process until your entire vehicle is fully coated.
With all areas treated and wiped down, attention turns to allowing adequate time for curing and drying, which is essential for achieving optimal protection with your new ceramic layer.
Drying Time and Curing
Proper drying and curing are critical components that contribute to the long-lasting durability and effectiveness of ceramic coating on your vehicle. After you have applied the ceramic coating, it is essential to allow your vehicle to rest indoors for at least 48 hours without any exposure to water. This period is crucial, as the coating needs an undisturbed environment to bond effectively with the surface.
During this time, it's best to keep windows closed and avoid any movement or disturbance around the vehicle.
After the initial drying time, avoid washing or exposing your car to moisture for at least two weeks. This waiting period ensures that the coating completes its curing phase, establishing a resilient barrier against contaminants and environmental damage. Think of this phase as akin to letting a fine wine breathe—time enhances its character. If you can resist any urge to take a drive through the rain or seek out a car wash, you'll be rewarded with a stronger, more protective layer.
If you're eager to expedite the process, using a curing lamp can help; these lamps emit heat and UV light, mimicking the natural effects of sunlight. However, while beneficial, curing lamps aren't mandatory for successful curing. Simply allowing adequate time in a controlled environment often suffices. It's essential to maintain consistent temperatures during this phase for optimal results.
As we transition from understanding drying and curing times, let's explore effective techniques that can help maintain that brilliant finish and protective qualities you've just established.
Post-Application Maintenance
To ensure your ceramic-coated vehicle remains in pristine condition, it's essential to follow specific post-application maintenance practices diligently. One of the primary steps is to wash your vehicle with a pH-neutral shampoo. This type of soap is gentle and formulated to maintain the integrity of the coating while effectively removing dirt and grime.
Regular cleaning should ideally be done every one to two weeks, depending on your driving conditions. If you frequently drive in areas prone to mud or dust, increase the frequency of washings.
Always opt for soft microfiber towels or mitts when washing your car.
It's equally essential to steer clear of automatic car washes where brushes may contain grime or abrasive materials that can harm the ceramic surface. Hand washing is the best approach since it allows you to assess any minor damages while keeping your car spotless.
In addition to regular washing, a maintenance check every six months is vital. During this inspection, look closely at the surface for signs of wear or problems such as stains or water spots. If you notice any issues, consider reapplying a top coating or a ceramic boost spray, which acts as an extra layer of protection against environmental factors.
These maintenance practices set the stage for preserving the effectiveness of your ceramic coating, but it's also crucial to be aware of common pitfalls that can hinder its performance.
To maintain your vehicle's beauty and protect your investment with a ceramic coating, consider reaching out for professional assistance if needed. For more guidance and support, you can contact us at Veishop or call (937) 361-7993!

